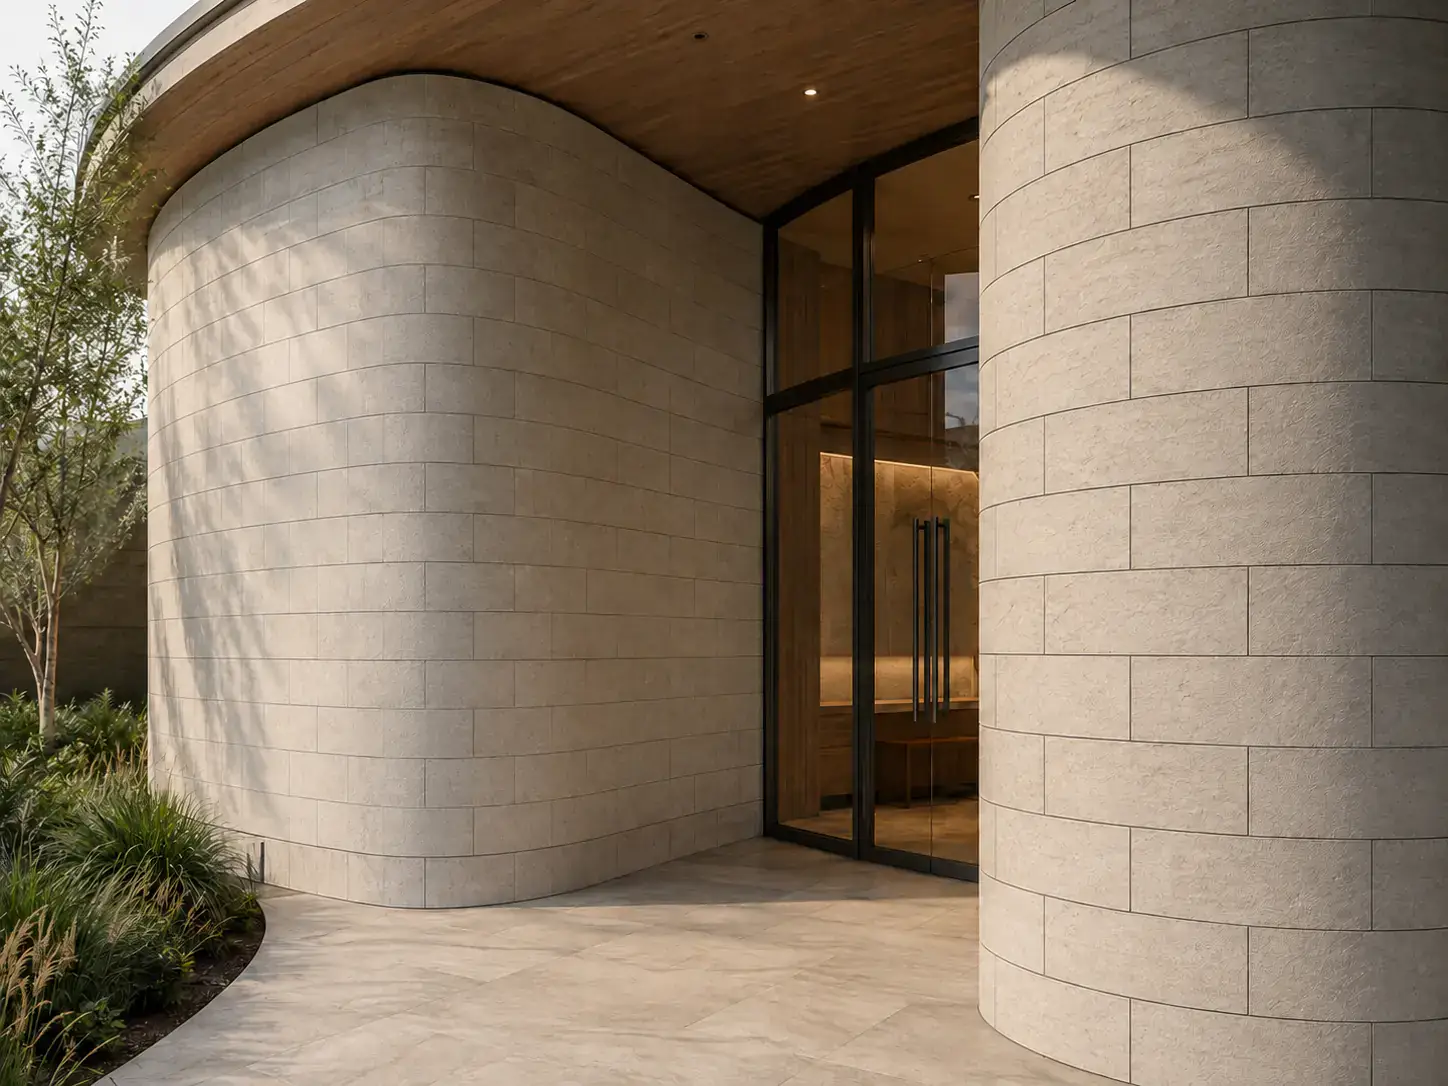
Flexible tiles for curved walls solve a problem that rigid materials handle badly: covering a radius without cutting it into dozens of facets. Because a flexible tile bends to the form, a column, a rounded corner or a sweeping entrance wall can be clad in full-size pieces with continuous joint lines. This guide covers where curved wall cladding works, how to design the setting out, and how to get the substrate and installation right.
Why rigid materials struggle on curves
A rigid tile, brick or stone piece has a flat face. Laid on a curve, each unit touches the radius along a line and stands off it at the edges, so the wall reads as a series of flats. The tighter the curve, the more obvious this becomes.
The usual workarounds all have costs. Small formats such as mosaics follow a curve more closely, but they multiply the joints and change the character of the surface. Cutting larger tiles into narrow strips takes time and creates waste. Special radial bricks or shaped stone need to be made for the specific radius.
A flexible tile works differently. It bends along its length or width, so its face sits on the curve rather than across it. The joint pattern you would use on a flat wall can carry straight on around a column or into a curved reveal.
Where curved wall cladding with flexible tiles works
Flexible tiles suit most single-curved surfaces, inside and out:
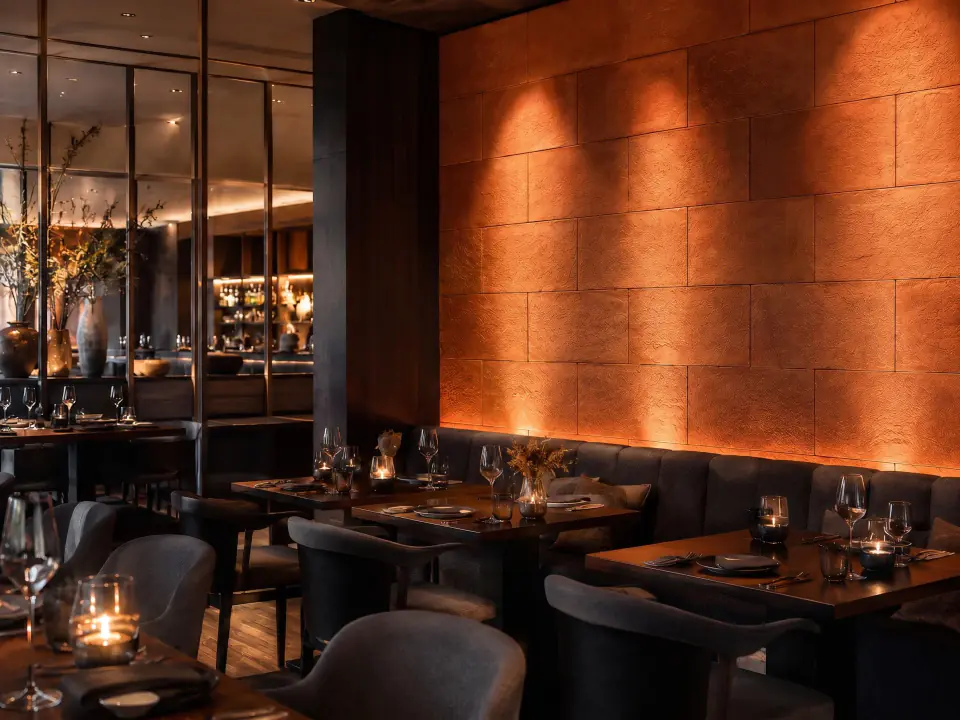
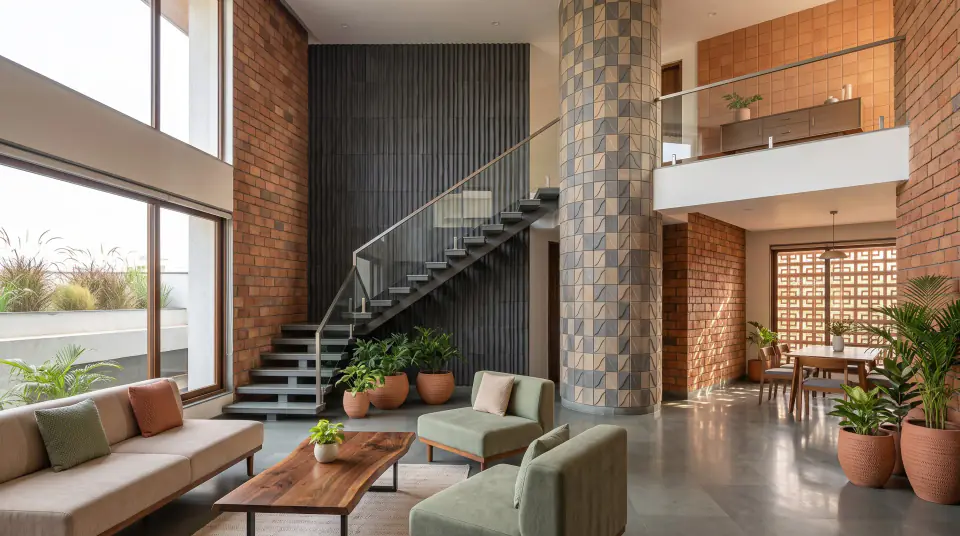
- Columns and pillars in receptions, hotel lobbies, restaurants and retail units, where column cladding is seen at close range.
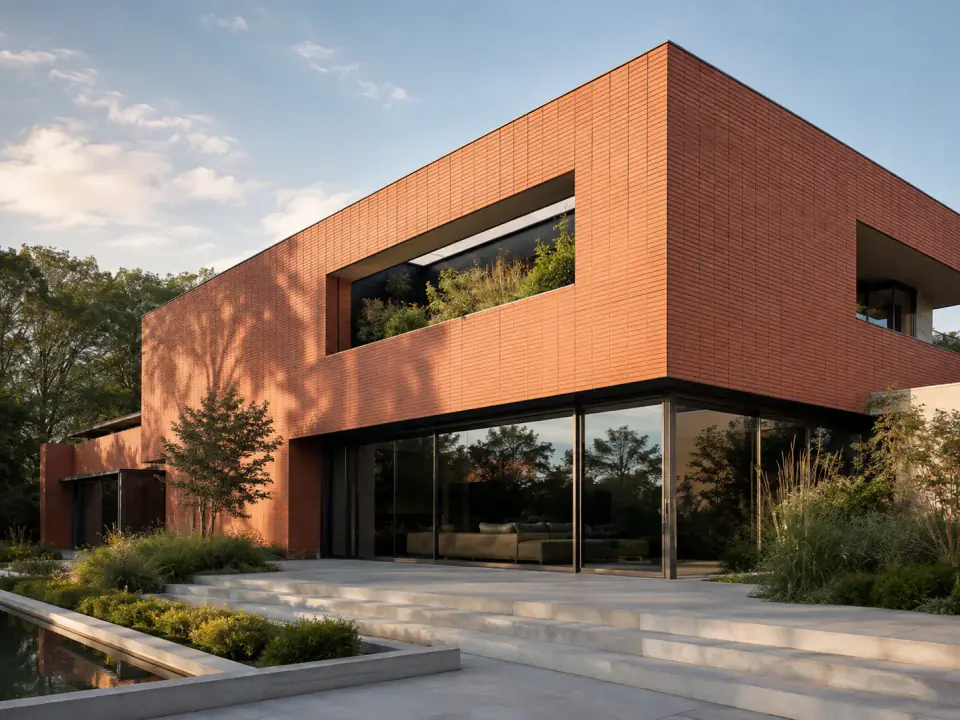
- Curved entrance walls and drum-shaped volumes that define an approach or a doorway.
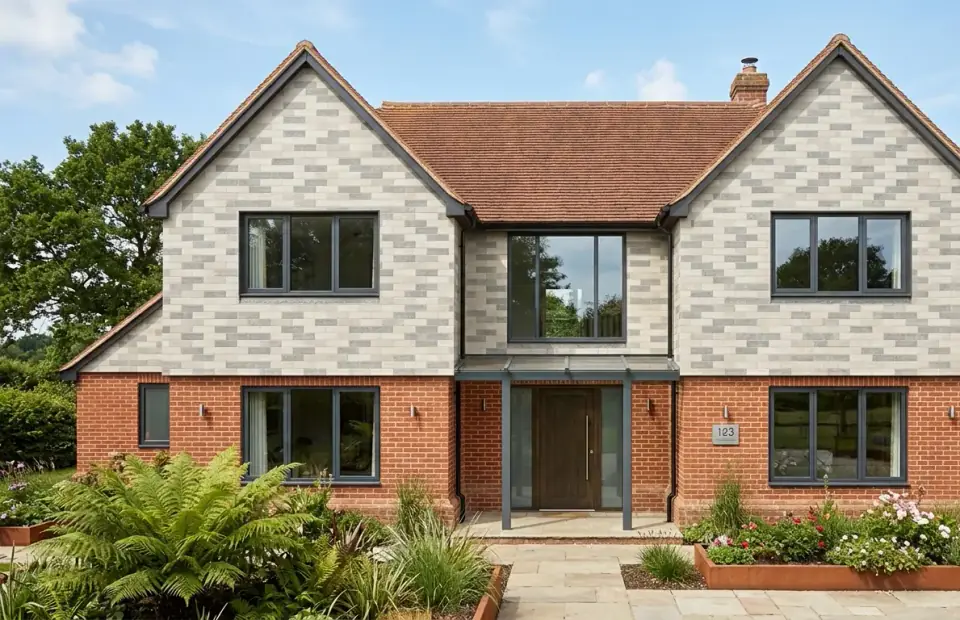
- Rounded external corners on houses, extensions and garden walls.
- Curved reveals and returns around openings.
- Soffits and arch undersides, where the product is approved for that orientation.
Billi's flexible tiles are designed for flat and selected curved surfaces, with finishes including Flex03, Flex05 and Flex21. If you are new to the material itself, our explainer on what modified clay material is covers its make-up and uses.
Convex, concave and compound curves
Not every curve behaves the same way, and it helps to identify which type you have early in design.
Convex curves
Columns and rounded external corners are convex. The tile wraps outwards around the form, and its face opens slightly as it bends. Finishes with deep texture may show this more than smooth or lightly textured ones, so check a sample on a template before committing to a finish.
Concave curves
Curved internal walls and the inside of a drum are concave. The tile bends inwards and its face closes slightly. Concave walls are often lit from inside the curve, which can emphasise texture, so test the finish under the intended lighting.
Compound curves
A flat sheet can bend around a cylinder without distortion, but it cannot wrap a sphere without stretching or creasing. Domes, waves and other double-curved surfaces therefore need smaller units, carefully planned cuts or a different finish altogether. Discuss these early with the supplier.
Setting out joints on a curved wall
Good setting out is what separates a curved wall that looks deliberate from one that looks improvised. For a column, a simple process works well:
- Measure the true circumference of the finished substrate, not the structural column, by wrapping a tape around it at several heights.
- Divide by the tile width plus the joint to see how many full tiles fit.
- Adjust the joint width slightly, within the manufacturer's range, so you finish with full tiles or an even cut rather than a sliver.
- Choose the closing joint position, ideally facing a wall, a corner or the least viewed side.
- Mark a plumb starting line and work around from it, checking vertical alignment every few tiles.
On curved walls that meet flat ones, decide where the curve starts and keep a joint or a full tile on that tangent point. Plan the top and bottom of columns too: a clean shadow gap, a trim or a neat cut tile at a consistent height avoids an untidy junction with floors and ceilings.
Tile orientation matters as well. A tile bends more easily along one direction than the other in many formats, so confirm which way the manufacturer recommends running the tiles for your radius before you fix the pattern.
Getting the substrate right
The tile will follow whatever it is fixed to, including mistakes. A substrate that is accurate to the curve is the single most important factor in a good result.
Common approaches include curved framing with bendable boards, rendered blockwork built to a template and existing curved masonry that has been checked and made good. Whatever the backing, it should be sound, clean, dry, free of dust and release agents, and compatible with the recommended adhesive and any primer.
Check the radius with a cut template at several heights before tiling starts. Flats, bulges and steps that seem minor on bare board become obvious once a textured finish with straight joints sits on top, especially in raking light.
On exterior curved walls, the same checks apply as for any external façade: a backing suitable for exterior bonding, movement joints in line with the building's joints, and copings and sills that throw water clear. Planning, Building Regulations and the product's classification report all need checking for the specific building.
Installation points that matter on curves
Bonding a flexible tile to a curve asks a little more of the installer than a flat wall. Keep this checklist in mind:
- Follow the manufacturer's advice on warming, where it is given, to help the tile follow tighter curves. Do not overheat the tile.
- Achieve full adhesive contact across the back of the tile, using the trowel and coverage method specified, so the edges do not spring away from the curve.
- Support the tile while the adhesive grabs, using the temporary methods the manufacturer allows.
- Keep joints consistent, using spacers or a gauge, because uneven joints are easy to spot on a curve.
- Respect temperature and weather limits on exterior work, both for the tile and the adhesive.
- Clean adhesive off the face as you go, before it cures in the texture.
The most common mistakes are starting without a setting-out plan, fixing to an inaccurate substrate and pushing a tile past its recommended radius. Each is easier to avoid than to correct.
Flexible stone veneer and other curved finishes compared
Flexible tiles are not the only way to finish a curve. The table compares common options in general terms.
| Option | How it handles the curve | Joints | Weight | Best for |
|---|---|---|---|---|
| Flexible tiles or flexible stone veneer | Bends to single curves | Continuous pattern | Light | Columns, curved walls, rounded corners |
| Natural stone cladding | Cut or shaped pieces | More joints on tight radii | Heavy | Gentle curves, authentic stone |
| Mosaic or small ceramic | Many small flats | Many joints | Moderate | Tight curves, wet areas |
| Render or plaster | Applied to the form | None | Varies | Smooth, plain finishes |
For gentle curves where the depth and variation of real stone matter most, Billi's stone claddings remain a strong option. For tighter radii and columns, flexible tiles usually give the cleaner result.
Plan your curved wall with samples
Texture behaves differently on a curve, so a sample bent on a template of your actual radius is worth more than any photograph. Request samples of the flexible tile finishes, or talk to the team about your column sizes, substrate and setting out.
Frequently asked questions
How tight a curve can flexible tiles go around?
It depends on the product's thickness, format and texture, and on conditions during installation. Manufacturers publish guidance on the curves their tiles can follow, sometimes with advice on warming the tile first. Work to that guidance, test a sample on a template of the actual radius, and switch to smaller units if the curve is tighter.
Can flexible tiles be used for column cladding?
Yes, columns are one of the most common uses. The tiles wrap the column as full pieces, so the joint pattern stays continuous around it. Set out the joints from the column's circumference so you avoid a thin sliver at the closing joint, and place that closing joint where it will be least visible.
Do flexible tiles work on exterior curved walls?
Flexible tiles designed for exterior use can be applied to curved façades, entrance walls and rounded corners. The substrate must be sound, accurately formed and suitable for exterior bonding, with movement joints and water-shedding details in place. Check planning, Building Regulations and the product's classification report for the specific building before specifying.