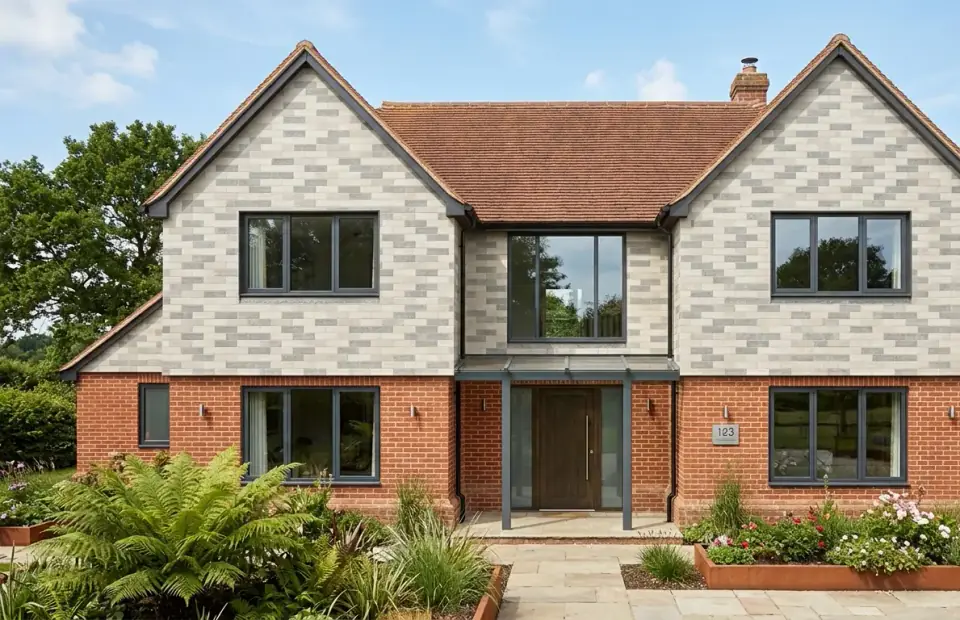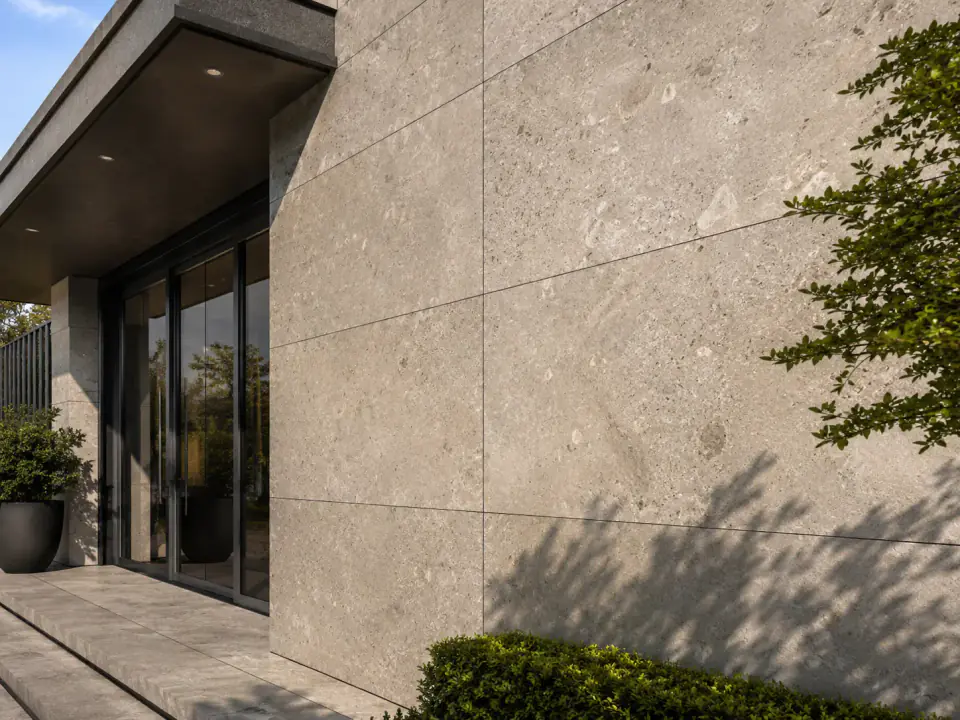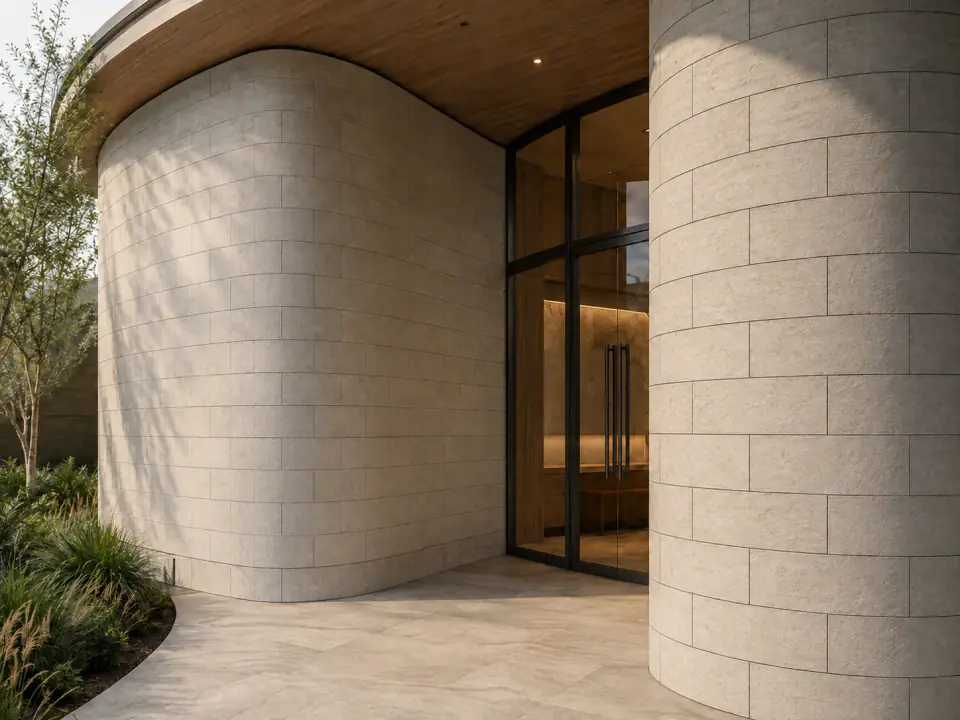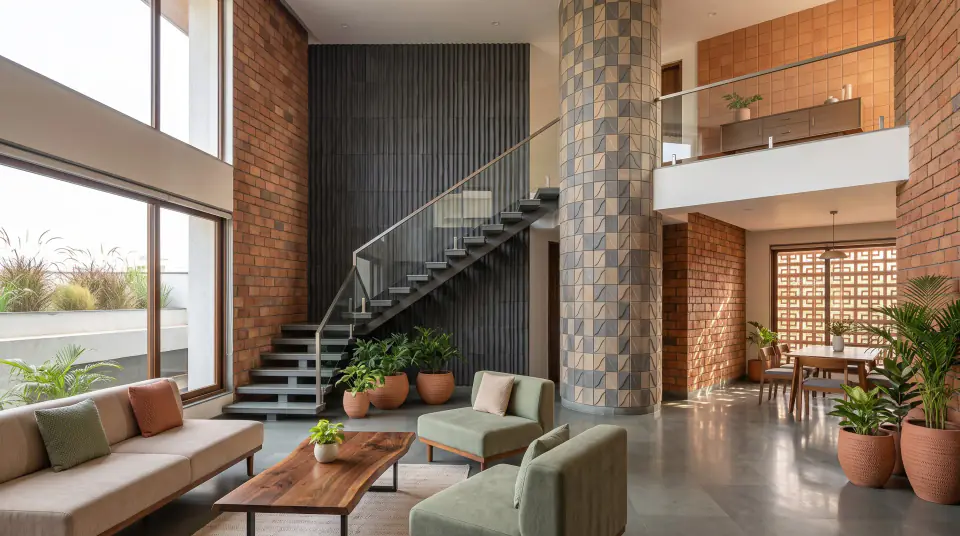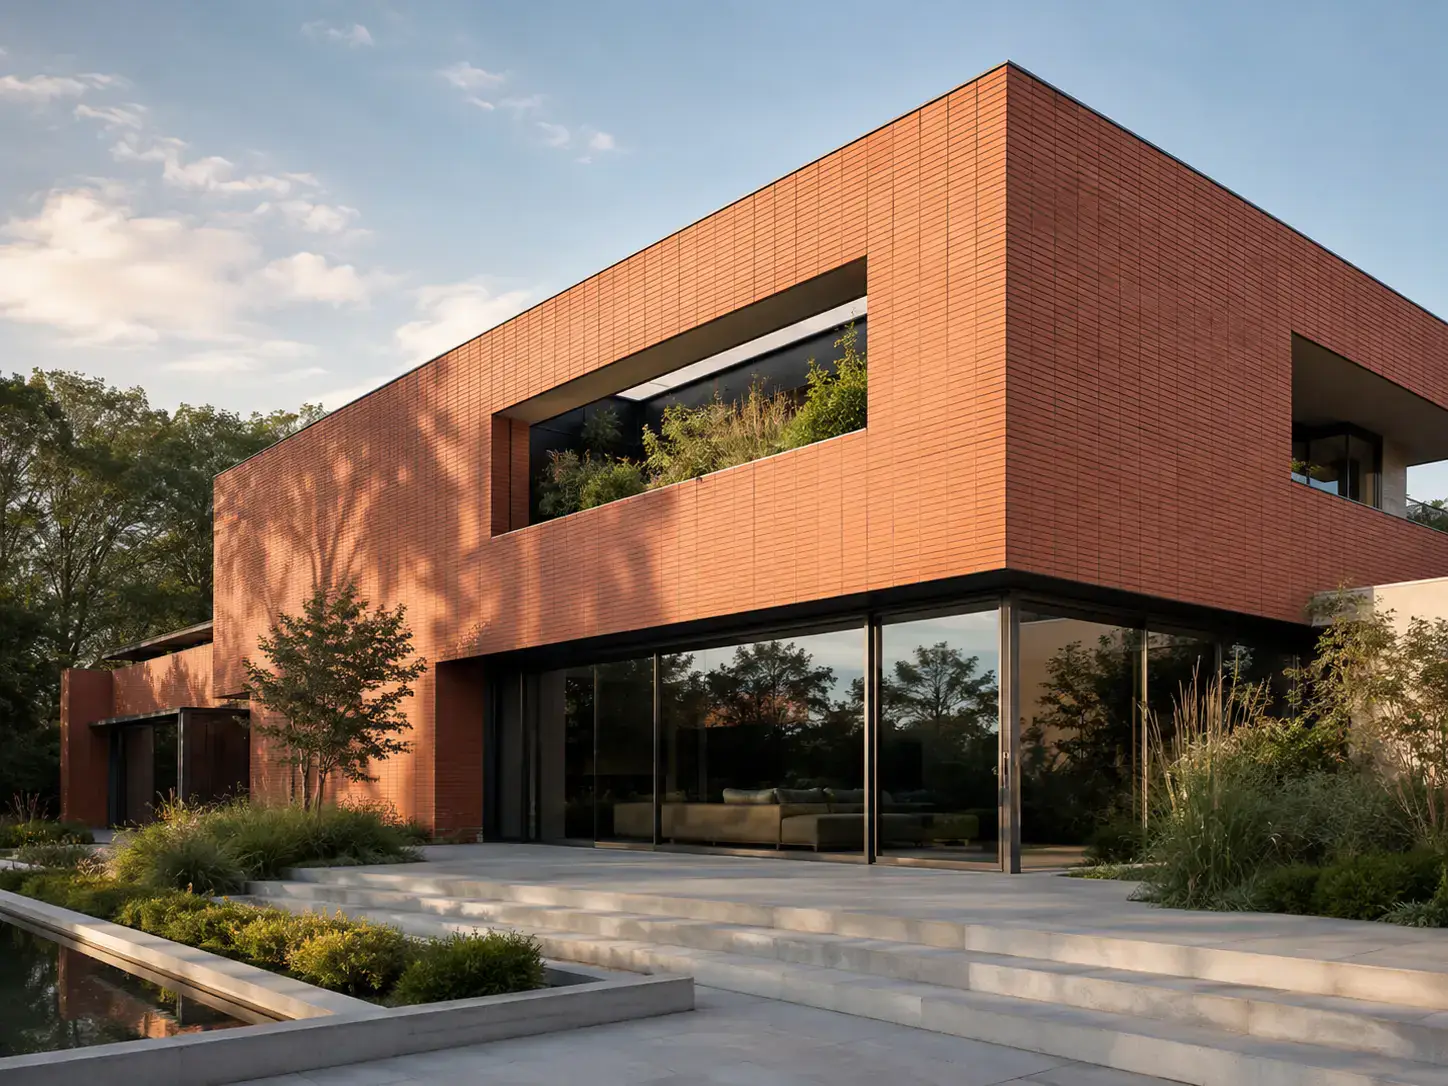
Recladding a house means fixing a new external finish over, or in place of, the existing walls to change how the building looks and often how it performs. For older homes it is one of the most effective ways to modernise the exterior of a house without rebuilding it. The finish is the visible decision, but the result depends far more on what sits behind it: the condition of the walls, how moisture moves through them, and whether planning and building regulations have been checked first.
What recladding a house involves
There are two broad approaches. Over-cladding fixes a new finish onto the existing wall, either bonded to a prepared surface or mounted on a support system with a cavity behind it. Full recladding strips the old outer finish, such as failed render, tile hanging or timber boarding, and replaces it with a new build-up.
Over-cladding is common on solid-wall and cavity-wall houses where the masonry is sound but tired, patched or out of keeping with the owner's plans. Full replacement makes sense when the existing finish is itself the problem: blown render that traps water, rotten boarding, or a previous cladding that was badly detailed.
Either way, recladding changes the depth of the wall. That affects window reveals, sills, eaves, verges, downpipes, meter boxes and the junction with the ground. Planning these details early is what separates a house exterior makeover that looks built-in from one that looks applied.
Start with the existing walls
The most expensive recladding mistakes come from covering problems instead of fixing them. Before a finish is chosen, the walls need a proper assessment, ideally by a building surveyor, with a structural engineer involved for anything beyond cosmetic defects.
Structural condition
Look for cracking, bowing, failed lintels, corroded wall ties in cavity walls and movement around bays and older extensions. A new finish will not stabilise a moving wall, and cracks that keep moving will show through or break the new surface. Fixings also need something sound to grip, so friable brick, soft mortar and hollow render all need investigating.
Damp and moisture
Older houses, particularly those with solid walls, often rely on the masonry being able to dry out. Trace the cause of any damp before you clad: defective gutters, high external ground levels, bridged damp-proof courses, leaking pipes and failed pointing are all common culprits. Sealing a wet wall behind an impermeable layer can push moisture inwards or let it build up where nobody can see it.
Insulation and ventilation
Recladding is a natural moment to add external insulation, but it changes how the wall behaves. The build-up needs to be designed so that moisture vapour can escape and condensation does not form within the layers, and the house still needs adequate ventilation inside. Where a ventilated cavity sits behind the cladding, keep it open at the top and bottom and protect the openings against insects and vermin. Ask your designer or the insulation manufacturer for a condensation risk assessment if the build-up is unusual.
Choosing a finish for an older home
Once the walls are understood, choose a finish that suits the house, its setting and the support available. For over-cladding existing walls, weight and thickness matter. A lighter, thinner finish puts less demand on the wall and the fixing system, and keeps the change in wall depth manageable around openings.
| Finish | Character | Where it tends to suit | Points to check |
|---|---|---|---|
| Flexible tiles | Clay-like surface in thin, lightweight formats | Over-cladding, bays, curved or awkward details, renovation work | Substrate preparation and the approved adhesive or fixing method |
| Terracotta claddings | Natural clay, warm colour, weather resistant | Contemporary remodels and high-end residential façades | Support system design, cavity and movement joints |
| Stone claddings | Texture and depth from natural stone | Feature elevations, plinths and entrances | Load on the wall, fixing system and edge details |
Many successful projects combine two finishes: a clay or brick-effect main elevation with a stone plinth, or a terracotta upper storey above retained brickwork on the ground floor. If you are weighing up more traditional options, our comparison of brick slips and flexible tiles covers the trade-offs in detail.
Planning permission and building regulations
In England, permitted development usually allows you to clad a house if the materials are of similar appearance to those used in its construction. A genuine change of look, such as moving from red brick to pale stone or terracotta, will often need planning permission. In a Conservation Area, National Park, National Landscape (formerly an Area of Outstanding Natural Beauty) or the Broads, cladding with stone, artificial stone, pebble dash, render, timber, plastic or tiles needs planning permission.
Listed buildings need listed building consent for significant works, and Article 4 directions can remove permitted development rights in some areas. Flats and maisonettes do not have the same permitted development rights as houses. Rules differ in Scotland, Wales and Northern Ireland, so always check with your local planning authority. Our guide to cladding and planning permission in England sets out the questions to ask.
Building regulations are a separate matter. Adding insulation, altering a large area of wall or changing ventilation can bring the work under building control, so speak to your building control body before you start. The fire performance of the external wall should also be checked for the specific product and project, using the manufacturer's classification report or data sheet.
A step-by-step recladding plan
- Define the goal. Decide whether the priority is appearance, weather protection, thermal performance or all three, as this shapes the build-up.
- Survey the walls. Commission an inspection of structure, damp, existing insulation and ventilation, then fix the causes of any defects.
- Check consents. Confirm the planning position with your local planning authority and the building regulations route with building control.
- Choose the system, not just the finish. Agree substrate preparation, fixing method, cavity, insulation and movement joints using the manufacturer's guidance.
- Review samples on site. Look at physical samples against the house, the roof and neighbouring buildings in daylight.
- Detail the edges. Draw the junctions at windows, doors, eaves, verges, ground level and services before work starts.
- Install and inspect. Use installers familiar with the system, and check the work at key stages rather than only at the end.
Common mistakes when over-cladding existing walls
- Covering damp instead of curing it. The new finish may look good for a while, but trapped moisture can damage the wall behind it.
- Ignoring the change in wall depth. Sills that no longer project and reveals that look shallow are the most common signs of a poorly planned makeover.
- Blocking ventilation. Air bricks, cavity vents and flue or extract outlets must be extended through the new finish, never covered over.
- Mixing fixing methods. Use the adhesive, fixings and accessories specified for the system, and follow the manufacturer's installation guidance.
- Choosing from a screen. Colour and texture read very differently outdoors, so confirm the choice with real samples.
Plan your recladding project with Billi
Billi's Modified Clay Material (MCM) products are lightweight and come in thin, flexible formats, which suits refurbishment work where existing walls are being over-clad. We support projects across the UK with samples, product guidance and practical advice. Request samples to test against your house, or talk to the team about the walls you are working with.
Frequently asked questions
Can you clad over existing brick walls?
Often, yes, provided the brickwork is structurally sound, dry and able to hold the chosen fixings. Over-cladding existing walls needs a survey first to identify cracking, damp or failed mortar. The new build-up must also manage moisture and ventilation, and you should confirm planning and building regulations requirements with your local authority before starting.
Do I need planning permission to reclad my house?
In England, permitted development usually covers cladding in materials of similar appearance to the existing house. A noticeably different look often needs planning permission, and in a Conservation Area, National Park, National Landscape or the Broads, cladding with stone, render, timber, plastic or tiles needs permission. Listed buildings need consent. Always check with your local planning authority.
Is recladding a house worth it?
Recladding can transform the look of a dated house and, combined with insulation, improve how the walls perform. Whether it is worthwhile depends on the condition of the existing walls, the finish chosen, access, the amount of detailing around openings and the consents needed. A survey and early product advice help you judge whether it suits your house.